How to setup WHM using custom nameservers
This article will walk you through the steps of setting up WHM for the very first time using custom nameservers (ns1.yourdomain.com and ns2.yourdomain.com) for your DNS Management.
Read This First
Before setting up WHM to use custom nameserver (nameservers assigned to your domain), you will first need to create them with your registrar. If you are unfamiliar with this process, or unfamiliar with hosting your own DNS server, it is strongly suggested to use Codero’s nameservers (ns1.codero.com and ns2.codero.com) and follow the steps outlined in these articles instead:
How to setup WHM with Codero nameservers
How to edit DNS in ServerPortal.com
Log In
Log into WHM. You will need to use https://IP.ADD.RE.SS:2087 to access the login screen.
Username: root
Password: The root password provided with your server. This is also the ssh root password.

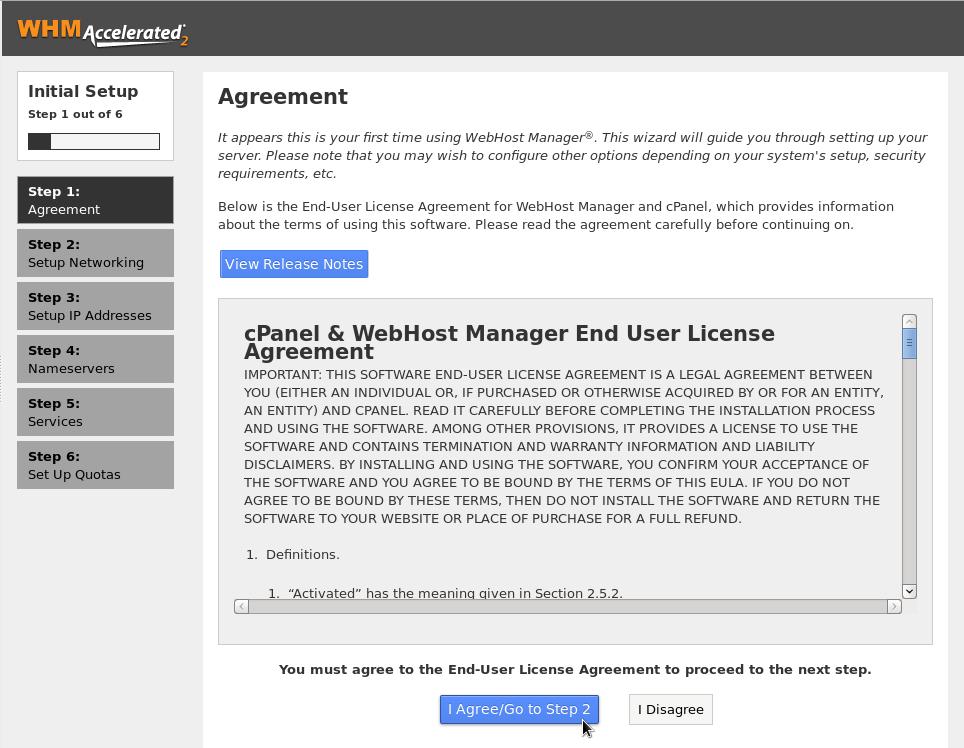
Step 1: End User Agreement
Read the End User License Agreement then click
Step 2: Setup Networking
Contact Information
Enter your administrator’s email address. This is the address email sent from your server will be delivered to. It is important that is a working and monitored email address.

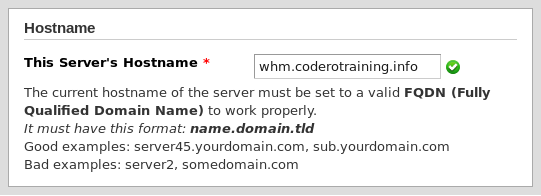
Hostname
Select a Fully Qualified Domain Name (FQDN) for your server. This is usually a subdomain of your primary business domain name that defines the server. Some good examples would be server.mydomain.com, mail.mydomain.com, or webserver.mydomain.com.
https://www.howtowebhost.com/how-to-set-reverse-dns-rdns/
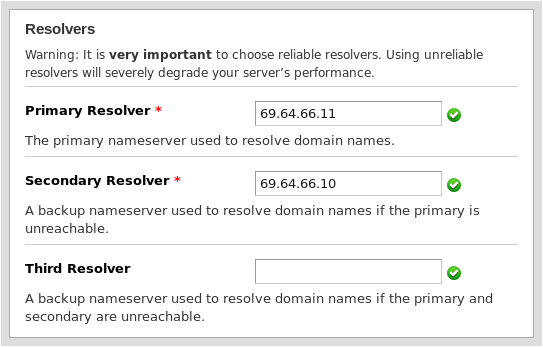
Resolvers
Resolver IPs are used to convert domain names to IP addresses. Using the wrong Resolver IPs can drastically reduce the performance of your server.
Primary Resolver: 69.64.66.11
Secondary Resolver: 69.64.66.10
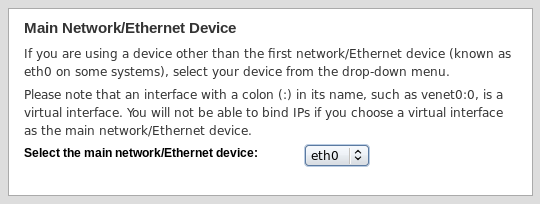
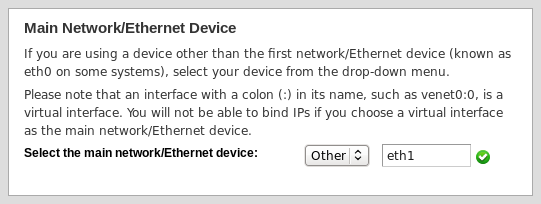
Main Network/Ethernet Device
To best determine the device to use, log into your server with ssh, then run the ifconfig command. Locate the line with your primary IP address. The line directly above it will show the correct device.
Example:
# ifconfig
eth1      Link encap:Ethernet  HWaddr 00:12:34:56:78:9A
          inet addr:64.150.180.1  Bcast:64.255.255.255  Mask:255.0.0.0
In this example the correct device is eth1. To change the default, you will need to select Other from the dropdown, then manually type in the correct device name.
After you have completed all of these steps, click the button.
Step 3: Setup IP Addresses
Adding additional IPs is beyond the scope of this article. Click .
Step 4: Nameservers
Since we will be using custom nameservers, you’ll need to setup the DNS service. If you have not already setup custom nameservers using your server’s IP address, you should do so before proceeding. Otherwise we recommend using Codero’s nameservers and following the steps outline here instead: How to setup WHM with Codero nameservers
You can find additional information about creating custom nameservers here: cPanel – How to Register Private Nameservers
Nameserver Configuration
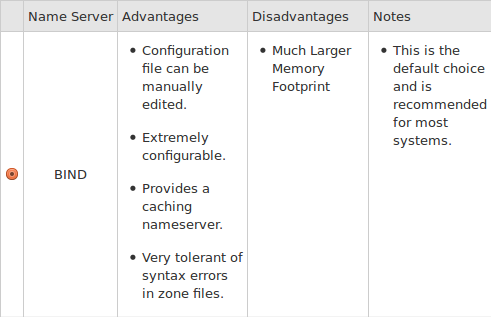
Select BIND
Bind should be automatically selected by default.
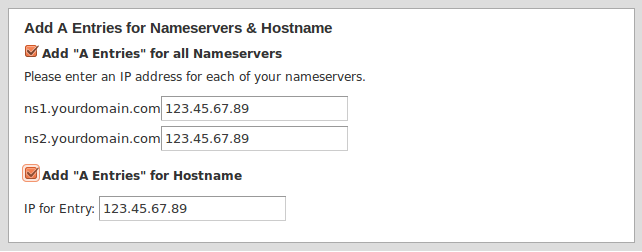
Add A Entries for Nameservers & Hostname
Check [X] Add “A Entries” for all Nameservers. These provide the “glue” that bind your nameservers to your IP and allow them to work. Without these, your DNS will not function correctly.
Note that is it perfectly acceptable to use the same IP for both nameservers.
Check [X] Add “A Entries” for Hostname. (Optional)
After you have completed all of these steps, click the button.
Step 5: Services
FTP
Select Pure-FTPD
(*) Pure-FTPD
Mail Configuration
Select Dovecot and check “Convert Mailbox Format
(*) Dovecot
[X] Convert mailbox settings file format to new mai server's format during migration
Configure cPHulk
Use the values shown in the image below to prevent “accidental” lock outs from blocking these users for extended periods of time.

Install common set of Perl Modules
It is generally not necessary to install the Perl Modules. Leave this unchecked.
[ ] Provide modules to /usr/bin/perl formerly provided by checkpermodules
After you have completed all of these steps, click the button.
Step 6: Quotas
Select (*) Use files system quotas then click
Feature Showcase
Use all the defaults on this page. Scroll to the bottom of the page and click
Comments
So empty here ... leave a comment!